
Instagram Preset Pack
Original price was: $39.99.$34.99Current price is: $34.99.

Wedding Preset Pack
Original price was: $39.99.$34.99Current price is: $34.99.

Middle East Pack
Original price was: $39.99.$34.99Current price is: $34.99.

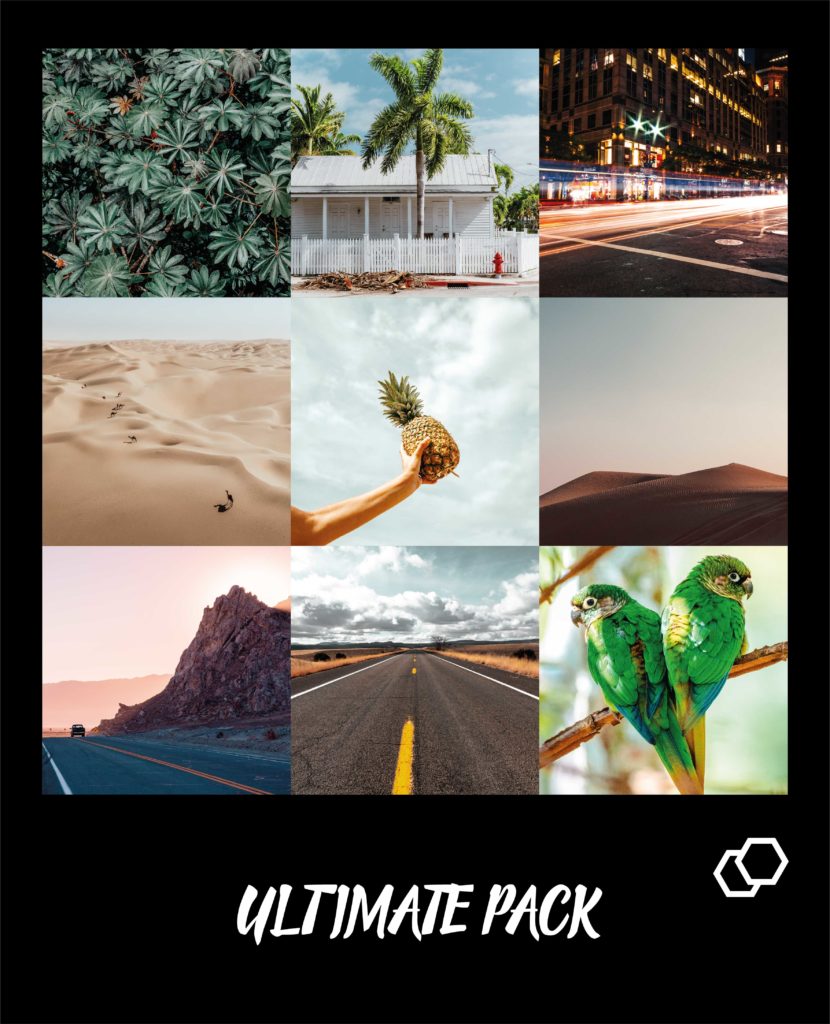
Ultimate Pack
Original price was: $119.99.$89.99Current price is: $89.99.